Concrete patios are often considered an excellent addition to any home. The concrete slabs are smooth and flat, ideal for outdoor activities and furniture. Plus, it’s pretty easy to clean, and you won’t be tracking grit or grime into the house like you would with a crushed stone patio.
If you consider a DIY concrete patio project, you’ll save money on the building costs! Most people want this, though they should realize how lengthy the process can be.
The challenge here is concrete. Once it’s mixed, you can’t turn back because it will harden (often more quickly than you realize). Overall, preparation is the key to success. You need well-secured forms, helpers, tools to be ready for work, and all the rest.
Once your concrete is poured and you’ve leveled and smoothed out the surface, you must let it set up before you finish it. Let’s learn all about the steps involved today!
Ready to lay concrete slabs like a pro? https://t.co/kANcv6kTpO Watch our video for step-by-step instructions and expert tips! #concreteslabs #DIY #concrete pic.twitter.com/ltVunA1z0n
— Ace Concrete Contractors Austin (@aceconcreteatx) April 11, 2024
When You Should Build a Concrete Patio
Pouring a concrete patio is easy because it can be done in a wide temperature range. However, beginners often stick with warm, dry weather for the best results. Rain could ruin the finish, and freezing temperatures might damage the slab!
Shade can slow down the curing process if the weather is hot or dry. Likewise, you’ll frequently mist the concrete to prevent cracking, as the concrete cures.
Regulations and Local Building Codes
In most cases, more giant concrete slabs require approval from the city’s zoning or building departments. Slabs are typically permanent structures so restrictions could be put on them.
Local building code rules often dictate many design elements, including the thickness of the slab and base, the type of concrete mix used, internal reinforcements, and moisture barriers under the concrete patio. It’s wise to call the city building department in your area to determine what it requires.
You may also want to call 8-1-1, which is the national hotline to call before digging. This ensures the underground utility lines are marked on the property. Though it’s free, it might take a few days.
What You Need?
Here are the materials and equipment you’ll need for the job:
Materials
- Spray adhesive and concrete nails
- Expansion joint strips (1/2-inch x 3-1/2-inch)
- Concrete sealer (this is optional)
- Plastic sheeting
- Cement bags (as the concrete mix)
- Vegetable oil
- Deck screws (3-1/2-inch and 2-inch)
- 2×4 lumber
- Compatible gravel or crushed stone
- Stakes
Equipment
- Medium-bristle push broom
- Wood float (bull float)
- Concrete edger
- Concrete groover
- Darby
- Mason’s trowel
- Wheelbarrow
- Concrete mixer
- Drill/screwdriver bits
- Wood saw
- Steel rake
- Plate compactor
- Shovel
- Straight 2×4 board
- Carpenter’s level
- Line level
- Mason’s line (can be braided nylon string)
- Hammer
- Tape measure
- Rubber boots (to protect your feet while working with concrete)
Instructions for a DIY Concrete Patio
Here are the instructions for building a concrete patio yourself:
1. Set Up Your Guide Strings
The guide strings will represent the patio edges. You’ll use stakes and Mason’s lines here. Begin by putting two stakes in each corner of your patio area. They should be 1 foot beyond where you want the edges to be. Then, tie the Mason’s lines between the opposing stake pairs to create a rectangular or square layout.
Any points of intersection will be the patio corners. Your strings should be roughly 6 inches from the ground.
2. Square Up the String Layout
Next, you will check your string layout. Take diagonal measurements between the opposing corners at any intersections. If the two measurements are equal, you have a square layout. However, you’ll need to adjust your stake positions to get them equal if they’re not.
3. Slope Your Strings
You’ll slope your strings, which allows the patio to slope away from your house about 1/8-inch per foot. For instance, the patio measures 8 feet from end to end. However, it must slope downward by 1 inch over that length. In this case, you’d measure 1 inch down from the strings at the lower end, marking those stakes to move the strings to those markings.
4. Excavate the Area for the Concrete Slab
Remove vegetation from the patio area, ensuring it goes about 5 inches beyond the sides. This will give you room to set the concrete form later.
Remove the soil to an 8-inch depth. You’ll have to measure down from your layout lines to gauge the depth as you work.
Usually, it’s easier to dig out the sides to their full depth and then remove the interior area with a long and straight 2×4. Ensure it’s fully leveled in the excavated area (side to side because it slopes in the other direction). Ensure that you tamp down the soil thoroughly with your plate compactor.
5. Install Your Gravel Base
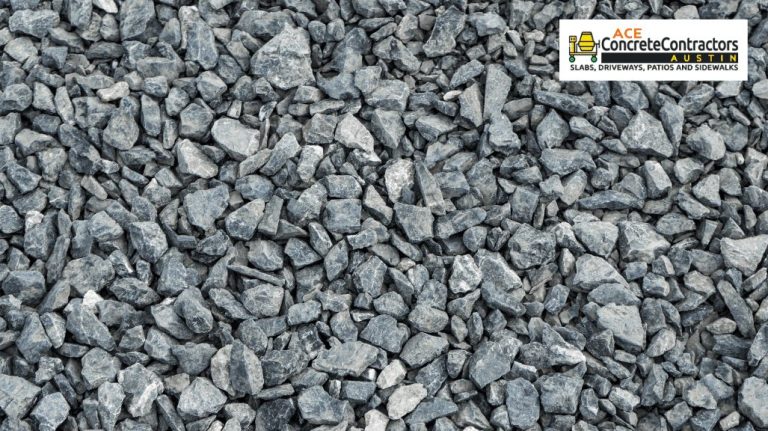
Fill your excavated area with about 2 inches of compactible gravel or crushed stone. Rake it smooth, compacting it more with your plate compactor.
Then, you’ll add 2 inches more gravel, raking that smooth. Measure from the layout strings in place and use a carpenter’s level and a 2×4 to ensure the gravel is level between the sides. The slopes should follow the strings, as well. Compact your second layer of the gravel before moving on.

6. Build Your Concrete Form
Build the concrete form with 3-1/2-inch screws and 2×4 lumber. The interior dimensions of your form should equal the concrete slab’s final dimensions. Put the form on your gravel base, measuring the diagonals to ensure it’s square.
7. Secure the Form Boards
Now, you’ll drive some wooden stakes around the outside of your form. They should be about 2 feet apart and extend roughly 3.5 inches from the ground.
Lift the form enough so that the top surface is about 4 inches over the ground, securing it to the stakes using 2-inch deck screws that go through the stakes and form boards.
The top of your form must be about 1/2-inch above the stake tops. Make sure the spacing is even between the guide strings and form. Also, secure the form at all stakes; then, remove the stakes and guide strings.
If your patio slab abuts an existing structure, including a house foundation, driveway, or garage slab, you’ll put strips of expansion joint material on the existing structure. Use concrete nails or spray adhesive, and align the top of the joint strip with the form board tops. This will isolate the new concrete base from the old and prevent cracking in the long run.
8. Pour the Concrete
The next step focuses on pouring concrete. To prevent sticking, you’ll coat the form’s interior surfaces with vegetable oil. Then, you’ll use a rented concrete mixer or mix it in a wheelbarrow while following the instructions on the label.
Transfer your mixed concrete into a wheelbarrow (if you used a mixer), and dump the concrete in piles into the form. Distribute your concrete evenly with a shovel, repeating the process until it’s filled.
9. Screed Your Concrete
Use your long and straight 2×4 board to screed the concrete. Rest the board atop both form sides, moving it back and forth using a sawing motion while you pull it backward.
Your shovel will help to remove any excess concrete, and you can also add concrete in the lower spots. Ensure the top of the concrete is level and flat. If it’s larger than 8 feet, you might need control joints at each 8-foot interval.
Position your board across the form, following the edge with your trowel to slice down into the concrete, separating the gravel and creating your control joint.
10. Finish Your Concrete
Let your concrete cure well until the moisture rising to the surface has disappeared. This process is called “bleeding water.” Now, you’ll smooth out the surface with a Darby. Let the bleed water evaporate again.
If you need control joints, go over them with a groover tool and a 2×4 to ensure straight lines. Round the slab edges with your edger tool, smoothing out blemishes with a wood float.
11. Add Another Finish (Broom Finish)
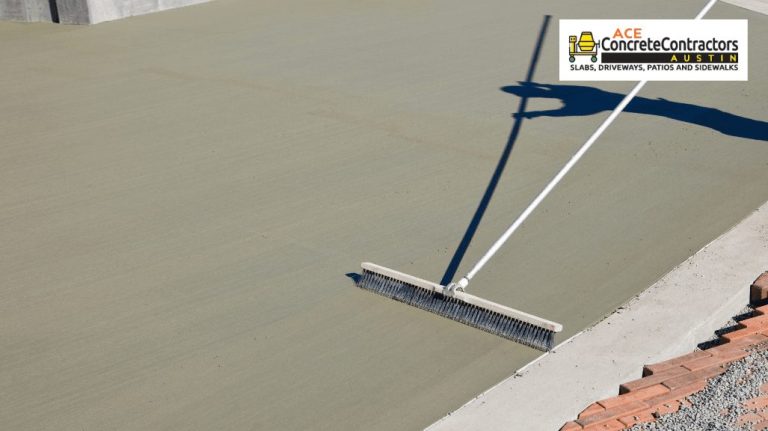
You may choose to “broom” the surface of your concrete for more slip resistance. Drag your push broom backward across the concrete’s surface in parallel and straight lines. Once complete, you’ll smooth the control joints and edges again. Alternatively, you may let the broom lines extend to the edges for a unique result.
12. Cover and Cure Your Patio Slab
Cover your concrete with some plastic sheeting. You’ll need to keep your concrete moist while it cures by lifting the plastic and misting it with water every day. If you’re not doing that, it stays covered. Ultimately, you’ll have to repeat this process for about one or two weeks.
13. Complete Your Job
Once the concrete has cured, you’ll remove the plastic. Disassemble your wood form and pull the stakes from the ground. Now, you can backfill your slab with various materials and seal it with a concrete sealant.

Tips for Building Your Concrete Patio
Buying ready-mix concrete makes sense for a smaller slab. You’ll need roughly 28 80-pound bags for a slab 4 inches thick at 50 square-foot.
Large slabs will likely require a concrete truck to deliver the concrete mix. You’ll have to spend time mixing concrete, but it will probably be easy. Though some trucks allow you to use the ready-mix stuff, it might not be recommended.
Why Hire Ace Concrete Contractors Austin
Ultimately, it is possible to make your concrete patio without the help of a professional. However, it’s not as easy as you think, so you might spend many weekends trying to get it right.
Ace Concrete Contractors Austin has been building concrete patios for many years. We have the skills and tools required for the job. Please call (512) 566-7530 to request your free estimate today!
FAQs About Building a DIY Concrete Patio
Can I Pour Concrete Directly on Dirt?
In most cases, you don’t want to pour concrete onto the dirt directly. Instead, you should put down a gravel base under the concrete slab.
Concrete is porous, so it absorbs water. If you put the concrete onto the dirt, water could collect underneath and erode the bottom.
How Thick Should a Concrete Patio Be Poured?
The minimum thickness for your concrete patio is 4 inches. Usually, if you plan to put a hot tub or gazebo on top of the patio, you’ll want a thickness of 6 to 8 inches.
Can I Make My Concrete Patio?
Yes! It’s possible to have a DIY concrete patio. However, some people might not like the idea of all the extra work. Therefore, it might be wise to hire us instead!
